Getting tree sap off your car can be a frustrating task, but it doesn’t have to be. You just need the right approach and tools. Whether you’ve parked under a sticky pine tree or a sapling, knowing how to tackle the issue will save your car’s finish. It’s important to act quickly to prevent damage, so let’s explore effective methods to remove sap safely and keep your vehicle looking its best.
Key Takeaways
- Gather supplies like soft cloths, rubbing alcohol, and warm soapy water before starting to ensure a smooth removal process.
- Test a small, discreet area of your car’s finish first to prevent potential damage before applying any removal method.
- Use rubbing alcohol or WD-40 by applying it to a cloth and gently rubbing the sap until it loosens.
- Clean the area with warm, soapy water afterward to remove any residue from the sap and solvent.
- Protect your car’s surface by applying a high-quality wax or sealant after cleaning for future defense against contaminants.
Understanding the Nature of Tree Sap
While you might enjoy the beauty of trees, understanding the nature of tree sap is essential when it comes to protecting your car.
Tree sap is a sticky substance secreted by various trees, often as a defense mechanism against pests or disease. It consists of sugars, organic compounds, and water, which make it incredibly challenging to remove once it hardens on your vehicle’s surface.how-fast-do-f1-cars-go
Different trees produce sap with varying viscosities and compositions; for instance, pine sap is particularly notorious for its stickiness. The longer sap sits on your car, the more damage it can cause, leading to potential paint issues or discoloration.
Knowing the type of tree sap can help you choose the right cleaning method later on. By familiarizing yourself with these characteristics, you’ll be better prepared to protect your vehicle and remove any sap efficiently.
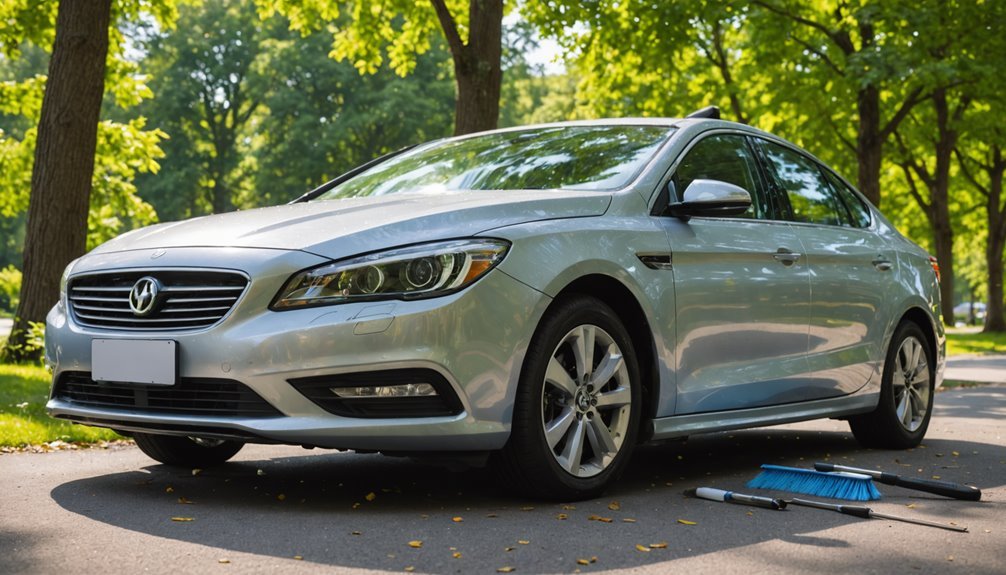
Gather Your Supplies
After understanding the nature of tree sap, it’s time to prepare for the removal process. You’ll need a few essential supplies to get started. First, gather a soft cloth or sponge, which will help protect your car’s paint while removing the sap. Next, you’ll want a solvent, like rubbing alcohol or adhesive remover, that effectively breaks down the sticky substance. Finally, keep a bucket of warm, soapy water handy for cleaning the area afterwards.
| Supplies | Purpose |
|---|---|
| Soft cloth/sponge | Protect paint and apply solvent |
| Rubbing alcohol | Break down tree sap |
| Warm, soapy water | Clean the residue |
With these supplies at your side, you’ll be ready to tackle that pesky sap. Make sure everything is within reach before starting the process for a smooth experience!how-much-is-urgent-care-without-insurance
Test a Small Area First
Before diving into the sap removal process, it’s essential to test a small area of your car’s finish. This vital step helps protect your paint from potential damage.
Choose a discreet spot, like an inconspicuous corner or under the bumper. Apply your chosen sap removal method and closely observe how the finish reacts.
Wait a few minutes and check for any discoloration, dullness, or other negative effects. If the paint looks fine, you’re good to go!
However, if you notice any issues, stop immediately and try a different product or method on your next test area.
Methods for Removing Sap
When it comes to getting sap off your car, several effective methods can help you tackle the sticky situation.
Here are four popular techniques you can try:
- Rubbing Alcohol: Dampen a cloth with rubbing alcohol and gently rub the sap until it loosens. This method works well without damaging your paint.
- WD-40: Spray a small amount of WD-40 on the affected area. Let it sit for a few minutes before wiping it clean with a soft cloth.
- Hand Sanitizer: Apply a bit of hand sanitizer directly on the sap. The alcohol content helps dissolve it quickly.
- Baking Soda and Water Paste: Make a paste from baking soda and water, then gently rub it on the sap. Rinse thoroughly afterward to eliminate any residue.
Try one of these methods for a cleaner, sap-free finish on your car!how-to-change-car-battery
Cleaning and Protecting the Surface
Keeping your car’s surface clean and protected is essential for maintaining its appearance and value. After removing sap, you should thoroughly wash your vehicle using a gentle car soap and a microfiber cloth. This helps remove any residue left behind and keeps the paint intact. Rinse well to guarantee no soap is left on the surface.
Once clean, apply a high-quality wax or sealant. This creates a protective barrier against future contaminants, including sap. Wax not only enhances your car’s shine but also makes it easier to clean the next time sap or other substances land on it.
Don’t forget to check for scratches or damage after cleaning. If you notice any imperfections, consider using a polishing compound to restore the finish.
Regular maintenance, including washing and waxing, will help keep your car looking great while safeguarding it from environmental elements.
Preventing Future Sap Buildup
To reduce the chances of sap settling on your vehicle, make strategic choices about where you park. Here are some proactive steps you can take:
- Choose Covered Parking: Whenever possible, opt for garages or carports to shield your car from trees and sap-producing plants.
- Stay Away from Trees: If parking outside, steer clear of areas with overhanging branches or sap-producing species, like pines or oaks.
- Use Car Covers: Invest in a breathable car cover designed to protect against environmental hazards, including tree sap.
- Regular Maintenance: Keep your car clean and waxed. This not only protects the paint but also creates a barrier that makes sap easier to remove.how-to-remove-scratches-from-car
Frequently Asked Questions
Can Sap Damage My Car’s Paint Permanently?
Yes, sap can damage your car’s paint permanently if left untreated. The sticky substance can cause discoloration, dullness, and even etching in the clear coat.
It’s best to clean it off as soon as you notice it. If you act quickly, you can often prevent severe damage.
Use the right products designed for automotive paint to guarantee you don’t harm your vehicle while removing the sap. Keep your car looking pristine!
Is There a Specific Time of Year for Sap Removal?
Yes, there’s a specific time of year for sap removal.
Early spring or late fall is often the best time to tackle sap since trees are in different growth cycles. During these periods, sap tends to be more abundant, making it easier to spot and remove.
Plus, you’ll want to guarantee you’re addressing it promptly to avoid any potential damage to your car’s paint. Regular checks during these times can save you headaches later!
Will Removing Sap Scratch My Car’s Surface?
Removing sap can scratch your car’s surface if you’re not careful.
It’s important to use the right techniques and tools. Avoid abrasive materials like steel wool, and instead opt for soft cloths or sponges.
Always test your chosen solution on a small area first to guarantee it won’t damage the finish. When done correctly, you can safely remove sap without harming your vehicle’s paint job.
Just take your time and be gentle.how-to-charge-a-car-battery
Can Family Pets Be Harmed by Sap-Removal Chemicals?
Yes, family pets can be harmed by sap-removal chemicals.
Many of these products contain harsh substances that may irritate your pet’s skin or cause gastrointestinal issues if ingested.
It’s best to keep your pets away from the area you’re working in and guarantee good ventilation.
Always check the label for safety information and consider using pet-friendly alternatives to protect your furry friends while getting rid of that pesky sap.
Are There Any Home Remedies for Sap Removal?
Yes, there are several home remedies for sap removal. You can try rubbing alcohol or hand sanitizer—apply it to a cloth and gently rub the sap until it dissolves.
Another option is using vegetable oil or peanut butter; just let it sit for a few minutes before wiping it away.
Don’t forget to wash the area afterward with soap and water to remove any residue and keep your car looking clean.
Conclusion
By following these steps, you can effectively remove sap from your car and keep it looking great. Remember to gather your supplies, test a small area, and use gentle methods to prevent damage. After clearing the sap, don’t forget to wash and protect the surface with wax. Regular maintenance will help you avoid future sap buildup, ensuring your car remains in top condition. With a little effort, you can keep your vehicle looking its best.